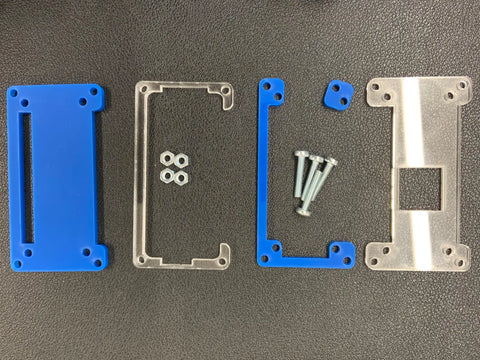
- Base Layer
- Spacer (with SD and Ribbon Cable indents)
- Two part spacer
- Top layer x 2 (Heatsink Layer & Solid Layer)
Step 1:
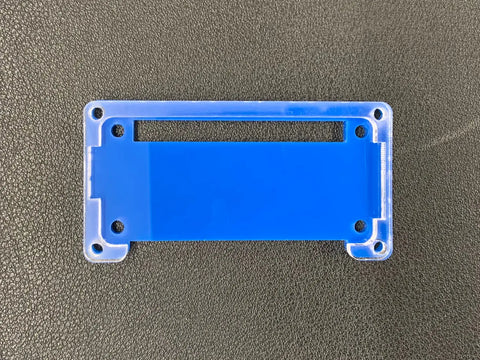
Place the spacer on top of the base layer.
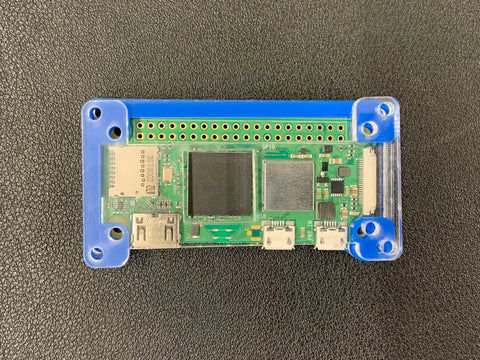
Step 2:
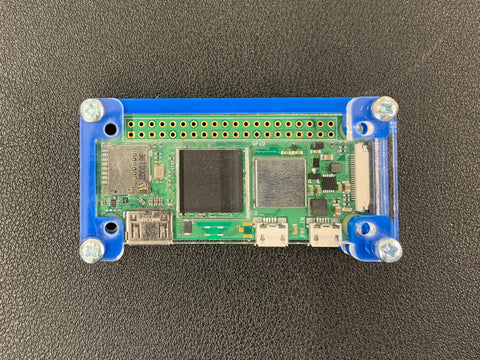
Place your Raspberry Pi Zero 2 W inside the spacer ensuring it is in the correct orientation. Please ensure that the preloaded SD card you're using is inserted into the Pi before placing the board in the case.

Step 3:
Carefully place the second spacer and extra square spacer on top as shown below.
Step 4:
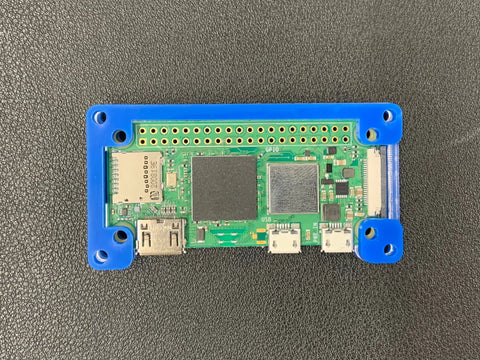
Now place the top layer on top of the spacer ensuring that the larger cut out allows acess to the GPIO header. If you're using the heatsink top later ensure the cutout hole lines up with the main chip.
Step 5:
Insert screws into each of the outer holes on each corner of the case.
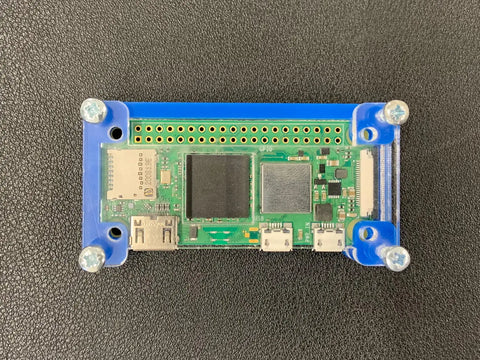
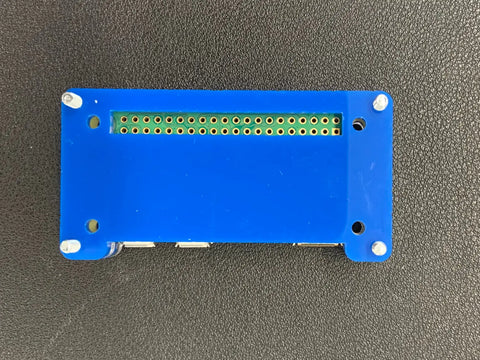
Step 6:
Carefully turn over the case keeping the screws in the holes. Then add the bolts to the scews to secure the case together.
And now you've assembled your proective case and are ready to use your Raspberry Pi!