
Various microcontrollers and development platforms require you to install an operating system on an inserted SD card in order to use the device. The best example of this is the Raspberry Pi, it's pretty much useless until you put in an SD card with an operating system installed on it. This quick guide will show you how to install/flash an operating system file (.img) into an SD card ready for use!
1) Download and extract the image
Firstly you'll need the .img file for the operating system you want to install onto the SD card. These can be found on the official website for the OS you want to use, in this example we're going to be using RetroPie. When downloading the image file make sure to select the one that is for your model of the Raspberry Pi.
Once the file has downloaded you may need to "unzip" the file which can be done by right-clicking on the file.
2) Insert SD card
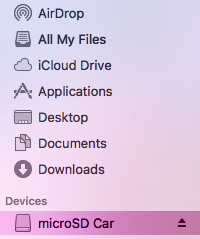
Now insert the SD card into the computer, you'll need to find out the drive name/letter (for example "F:" or "microSD Card"). This can be done by looking at the drive in My Computer if you're using Windows or Finder if you're on a Mac.
3) Open Etcher
Now we need to use a piece of software to mount the operating system image file onto the SD card. In this guide, we'll be using Etcher but you could also use Win32 Disk Imager or other programs.
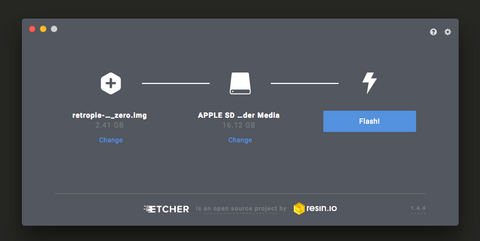
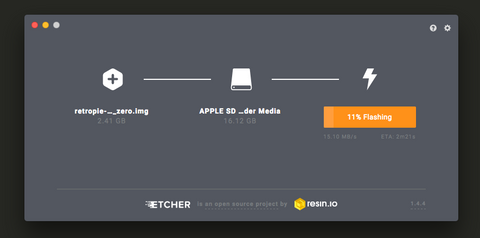
Once you've opened Etcher select the correct .img file that you've just downloaded and also select the correct SD card. Then click the "Flash" button and wait for the process to complete, it may take up to 15 minutes.
4) Safely eject the SD card and boot up your Pi
Once the process has been completed safely eject the SD card from your computer and slide it into your Pi. Power it on and wait for the operating system to configure and launch!