
Getting lost isn't really a thing in today's day and age thanks to GPS applications like phones and satnavs. But being able to navigate using a map and compass is still a valuable skill! In this post, we'll be creating a simple compass using the BBC micro:bit which is capable of displaying N, E, S, W. Below is a simulation of the final code, if you turn the micro:bit logo with your mouse then you'll see the direction reading change accordingly.
The Theory Behind Compass Headings
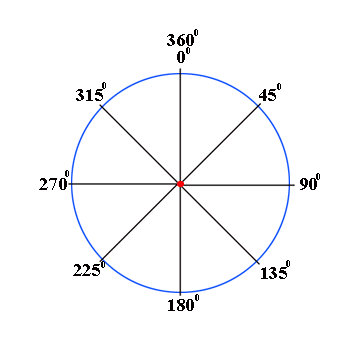
Compass reading can be thought of like a 360-degree circle that can be split into sections which determine the compass direction. In this example, we'll only be using N, E, S, W as outputs so we can split the compass into 45-degree sections around each point and use these points to calculate which compass heading the sensor reading falls into. Below is the basic logic we'll be using in our code to determine which compass heading to output.
- If reading is between 316 & 0, and also between 0 & 45 then output N
- If reading is between 46 and 135 then output E
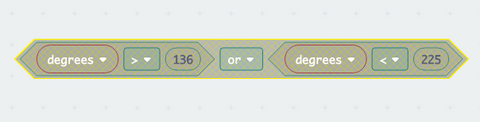
- If between 136 and 225 then output S
- Else then output W
Using the Compass Readings from the micro:bit
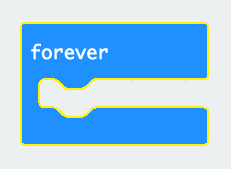
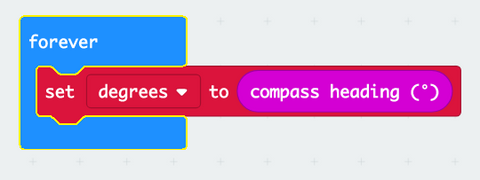
We'll be using the built-in compass that's on the micro:bit board, firstly we'll need to constantly check for new and updated sensor data and output the correct compass heading. To do this we'll be using a Forever block in which we'll be determining the heading displayed depending on the compass heading.
Next, we'll be assigning the compass reading to a variable. To do this you'll need to create a variable which can be done under the Variables menu and then use the Input block for the compass heading.
Now that we've assigned the data read from the compass to a variable we need to perform some logic to determine which compass heading to display. To do this we'll be using an if .. else block,
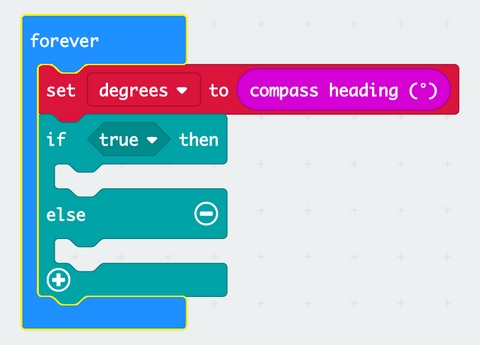
We need a condition to check for the If statement, we'll be using a comparison statement to compare the sensors readings against preset values. We'll be using the greater than or less than operators.
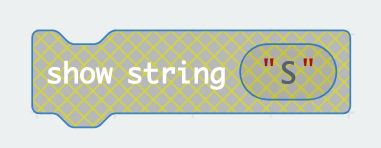
If the condition is met we want to output text to the display on the micro:bit, this can be done simply using the show string block.
When put all together the complete if statement will look like this:
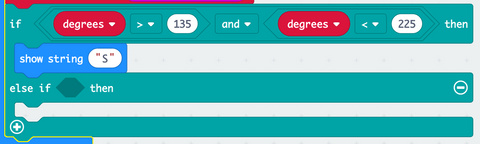
This IF statement can be repeated for the remaining directions ensuring that the values you're checking the reading against are changes and the numerical symbols are the correct way around.
Final Code
Here is the complete code that outputs a compass heading depending on the sensor data read. When you first launch the program on a that uses the compass on the micro:bit you'll have to calibrate the sensor which involves tilting and turning the micro:bit until the LED display is all lit up.