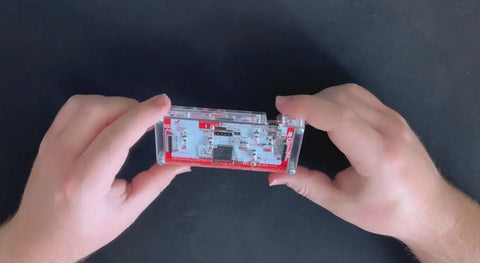
Protect your Makey Makey from unwanted scratches and damage with this protective case! It was specifically designed to fit the Makey Makey and the components on it.
Here's a short video guide and below is a step by step image guide to assembling the case.
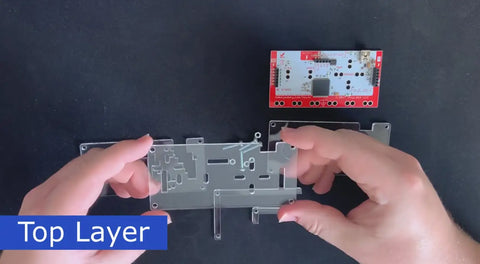
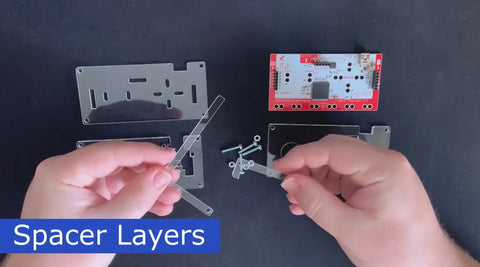
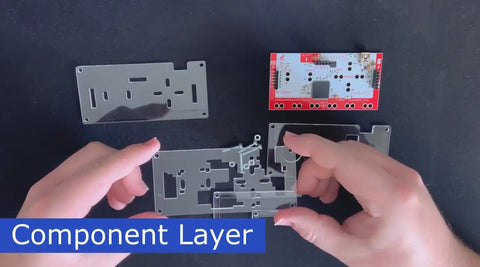
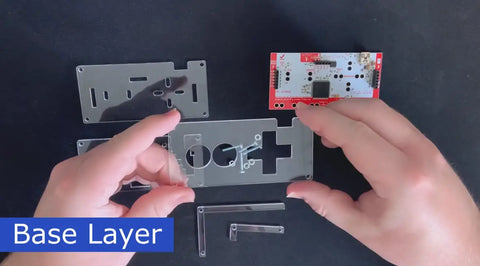
Identifying Parts
The case is comprised of a top, component, base and spacer layers and is secured using 4 nuts and bolts. The images below will help you to identify each of the parts.
Assembling the Case
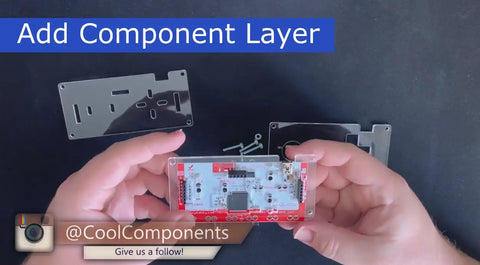
First add the component layer to the front of the Makey Makey. It should fit nicely around the header rows and other large components. If you're having trouble try fliping layer and using the other side.
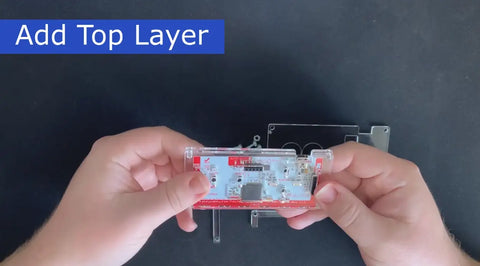
Next add the top layer to the same side of the Makey Makey, it should also fit nicely around the extruding header connectors.
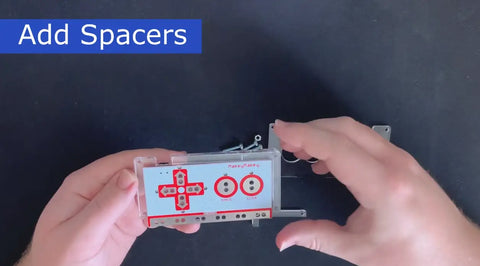
Next add the two spacers to the top of the board, from the size of each of them you should be able to determine which one goes on which side of the USB connector.
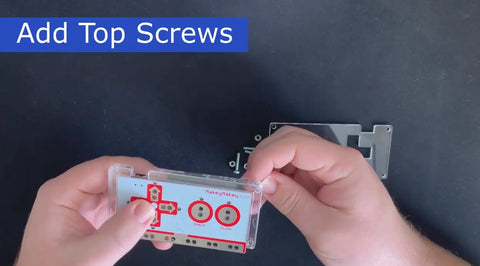
Add the two screws along the top to hold the layers in place, do not add the nut as there's another layer to add first.
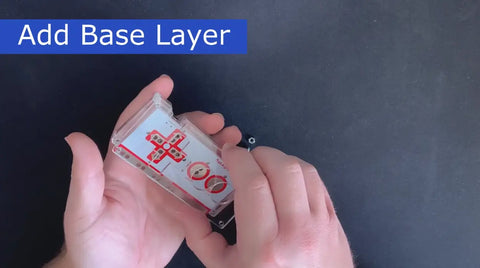
Now add the last layer ensuring that it lines up with the copper pads dispalyed on the back of the Makey Makey.
And lastly add the remianing bolts and secure them all. We strongly suggest only using your fingers to tighten them as any exessive force may damage the acrylic.

Now you're good to go and use your protected Makey Makey!