Protoboards and Veroboards (stripboard) are great for turning prototype circuits made on breadboards into permenant, mountable circuits to use in projects. In most cases the components are soldered onto these boards to create secure more perminent connections so we'd always recommend testing the circuits on a breadboard before transfering and soldering them into place on a protoboard.
Cool Components Protoboard - 1/2 Size (Pack of 3)
Protoboards
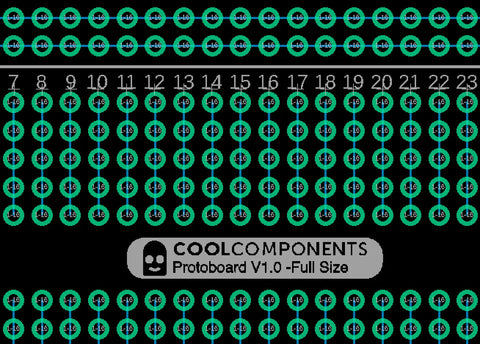
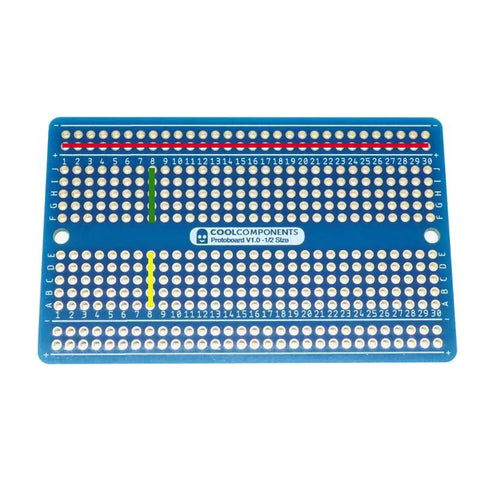
Most protoboards like our one shown below operate in the same way as a standard 0.1" spaced breadboards. There are two power lines at the top and bottom, each of these is usually connected all the way along the length of the board. Then there are verticaly connected rows on both sides of the central gap, this gap allows for the mounting/use of IC chips. The images below shows the copper connections in the PCB design and how this corresponds to the finished boards.
Just like when using a breadboard it's important understand the pinout of the components being used to ensure they are to placed on the board correctly. In larger more complex circuits all it can take is one incorrect piece of wiring to break a circuit.
Stripboard (Veroboard)
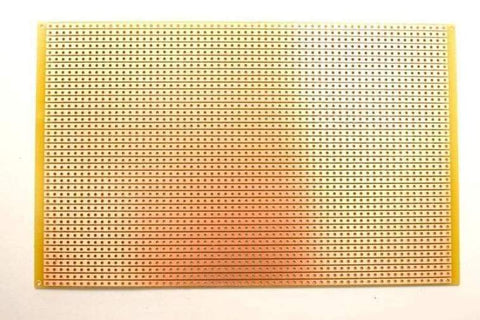
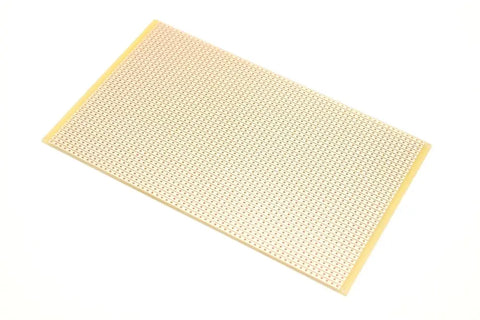
Stripboard which is sometimes also referred to as Veroboard is slightly different to a breadboard or protoboards as the connections are all in one direction on the boards.
Stripboard - 0.1" Pitch (16 x 10cm)
This can be seen on the board as the copper traces are uncovered unlike typical protoboards. This does mean you can "cut" the traces to create seperate connections/lines in one column or row. As the copper connections are only on one side that's the side where the soldered connections need to be made, in simpler terms mount the components on the side without the copper so the legs/prongs are on the copper side of the board.


