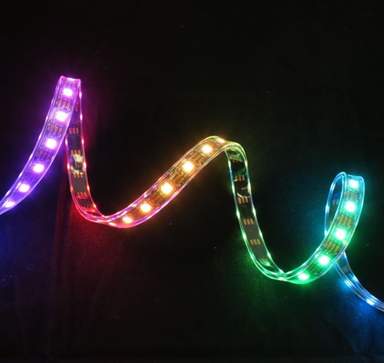
NeoPixel LEDs are extremely popular and can be used for a wide variety of uses. They can easily be controlled using a microcontroller such as an Arduino or BBC micro:bit. We're asked frequently how to connect them and begin to control them so we've put together this short guide to get you started.
Connecting to a ControllerWe'll be using an Arduino Uno in this guide but the same wiring can easily be replicated across other NeoPixel compatible microcontrollers. Data can only flow through the LED strip in one direction so it is important to ensure you're using the connections on the correct side. The connections should be labelled on the LED strip either at the end where the connector is or on the PCB silkscreen, there is usually an arrow that indicates the direction of the dataflow. With a NeoPixel LED strip, there will be 3 connections, Data In (DI), V+ and GND.
![]()
Wiring:
- Data In (DI) -> Any digital data I/O pin on the controller
- GND -> Ground Pin
- V+ -> 5V Pin
Installing Libraries
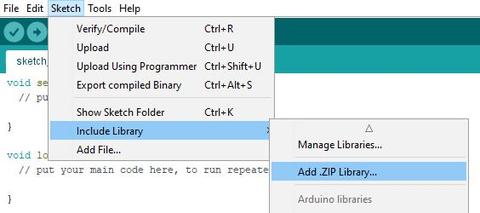
When using a NeoPixel compatible LED strip there are a few different libraries that you can use, we suggest using either the FastLED or Adafruit NeoPixel libraries. If you're not familiar with how Arduino libraries are installed then feel free to check out our previous blog post on How to install libraries when using the Arduino IDE.

If you're using a different controller then installing the needed libraries will be slightly different.
Using the Example Code
Once you've installed the library then we'd suggest starting by using one of the example programs. These are basic programs with clearly commented code that demonstrates the main functionality of the LED strip. In each of the examples, you'll need to change a couple of lines of code to customise the program to the LED strip that you're using.

You'll need to change the code so that the data pin you're using on the controller is correctly reflected in the code and also define the pixel length of the LED strip or ring that you're using.

The one last line of code you may need to edit is the complete definition of the LED strip. The code that says NEO_GRB defines the order of the LEDs in the data. It's most likely that you won't need to edit this line but if you notice that when you program an LED to be red and it displays green or blue then you'll need to change this.

Once you've changed those lines, program your Arduino/controller and you should see the LED strip light up. Now you can play around and change the code to create different colours and patterns. If you're looking for more information on powering LED strips then we'd suggest looking at this previous blog post.
