
In this tutorial, you will learn what an Array is, what they are used for and have a go at creating one using JavaScript. We have previously introduced writing code in JavaScript in our previous tutorial which we would recommend beginners working though first.
What is an Array?
Before you think about Arrays, it is important to know what a variable is within computer science. A variable is a space in the computer's memory which allows the program to store, manipulate and use data. Each variable has its own individual name and type of data which it can use.
If you have a series of data which would hold the same sort of data, e.g. list of peoples names, an array would be the best thing to use. An array is a group or list of similar data which would have a (user-defined) number of spaces available for data but would use a single name.
MakeCode Software
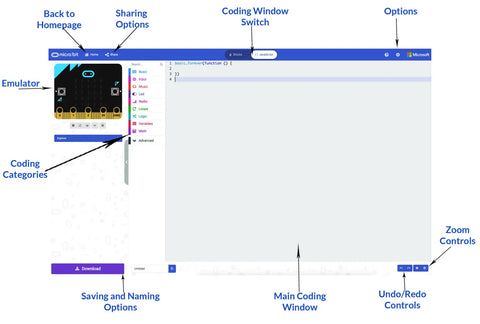
Regardless of which OS you are using go to the MakeCode website with any internet browser. The page is broken down into a series of sub-categories with your created projects being at the top along with some premade programs for Tutorials, Games, Radio Games, Fashion and many more!
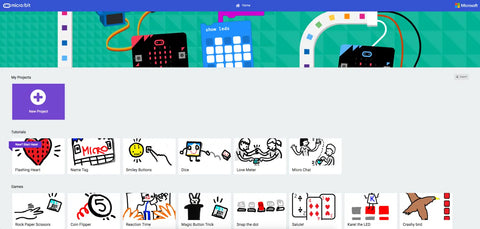
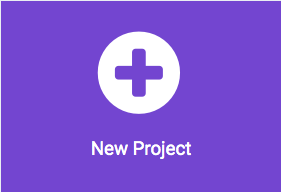
You can click on any of these to load the code, however, if you wish to start your first or a new project click on the big purple box labelled New Project.
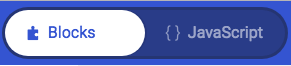
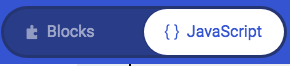
You have 2 coding options within this which can be changed by using the At the top of the page you will notice a slider-style button, click on it to change the coding window to JavaScript mode.
 |
 |
|
Block Mode |
JavaScript Mode |
You should now have a screen that looks similar to this.
The program that we are going to create will have an array with a list of names, the user will pick a value and the micro:bit will display the name associated with that value.
Coding the Program
Step One)
Select everything on lines 1, 2 and 3 then delete it. You should now be left with line 1.
Step Two)
You are now going to create two variables, one will be a counter to record the number selected by the user, the other will store the selected name from the array.
On line one, type the following:
let Name = "" On line two, type:
let Counter = 0Step Three)
You will now create your array, in this example, it will be used to hold the names of 5 people.
On line three, type:
let text_list: string[] = []This has created the array, however, it is currently empty so you will need to populate it with peoples names. Click on line four and type the following:
text_list = ["Paige", "Amir", "Harry", "Leah", "Alison"]The size of the array has now changed to 5. If you were to add or remove names on this line then the size of the array would change alongside it.
Step Four)
The next bit of code that you are going to write is a forever function. This will make sure that the current number for the counter variable is always displayed on the screen to the user. On lines 5, 6 and 7 type the following.
basic.forever(function () {basic.showNumber(Counter)})
input.onButtonPressed(Button.A, function () {if (Counter > 0) { Counter += -1 }})
You will now create an input function for when the B button is pressed. The counter will check to see if the value is less than 4, if it is, it will increase the value of the Counter variable by 1.
input.onButtonPressed(Button.B, function () {if (Counter < 4) { Counter += 1 }})
input.onButtonPressed(Button.AB, function () { Name = text_list[Counter]basic.showString(Name)})
Uploading your Program to the micro:bit
In the bottom left corner of the MakeCode page, you will find a textbox along with a purple download button. Click on the word untitled in the textbox and give your program a new name.
Press the Download button and the file will download to your downloads folder unless you specified a specific place.

Once the file has downloaded, open up the window for the download location and a separate window for the MICROBIT. Click and drag the file from downloads over to the micro:bit.
Once it has finished, the MICROBIT window will close and reopen, please note that while the file you just copied does not appear in the window, it will have been copied across.