Connecting the Makey Makey to your Computer
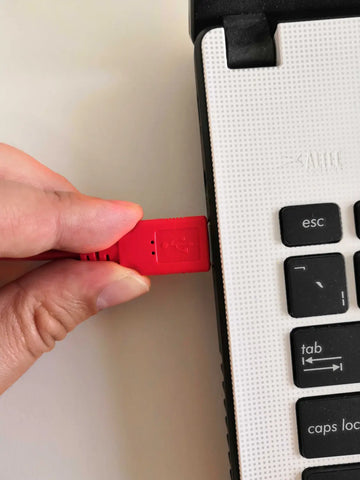
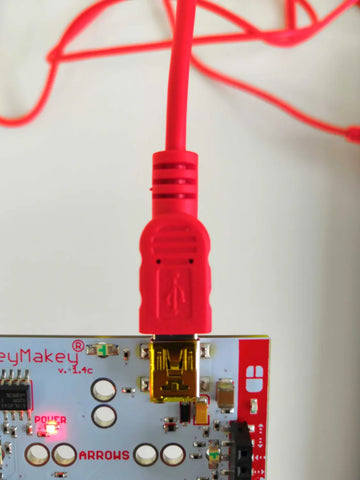
Using the supplied USB A to mini B cable, plug the USB A into a USB 2.0 socket on your computer (if this is plugged into a USB 3.0 / Blue socket it might not work) and plug the mini B end into the socket on the top of the Makey Makey.
Note: If it is your first time using this on a computer you might get some popups for the drivers installing. Do not close these, they will close once it is done
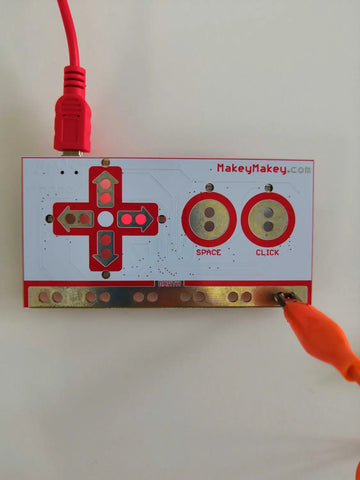
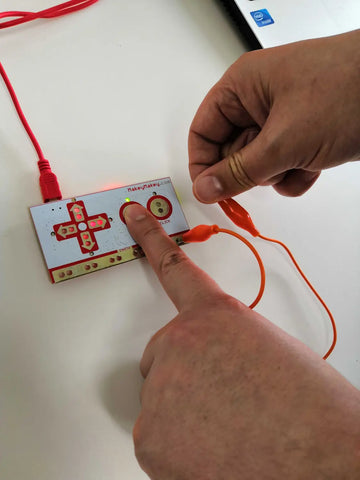
Connect one of the supplied Crocodile clips to the earth bar at the bottom of the Makey Makey and hold onto the other end of it with one hand, using your other hand press the keys, you should see a green light showing its working.
Test it out, open a webpage, document or video and start pressing the buttons.
 |
 |
 |
 |
Creating your First Program
Follow the steps or the video below to make your first Makey Makey program!
- Go to the following website https://scratch.mit.edu/ and click on create.
- If it is your first time using the software, close the green tutorial window in the bottom left by clicking on the X
- In the sprite window, delete the cat sprite by clicking on the small X in the blue circle
- Press the choose new sprite button near the bottom right of the screen
- In the search bar, type “Drum Kit” and click on it.
- Click on the Events category on the left-hand side, drag the “When Space Key is pressed" code-block onto your coding window.
- Click on the Sounds category and drag the “play sound Drum Bass1 until done” code-block and snap it to the bottom of the Event block you just placed.
- Right click on the "when space key pressed" block and select duplicate.
- Repeat this 3 more times
- Using the arrows on both blocks, select the menu options to make the following changes

Running the Program
Press the green flag in the top right corner of the Scratch software, and using your Makey Makey test out your new drum kit! For an even cooler idea, use the Crocodile clips to hookup different objects to the Makey Makey and make your drum kit even more awesome!

