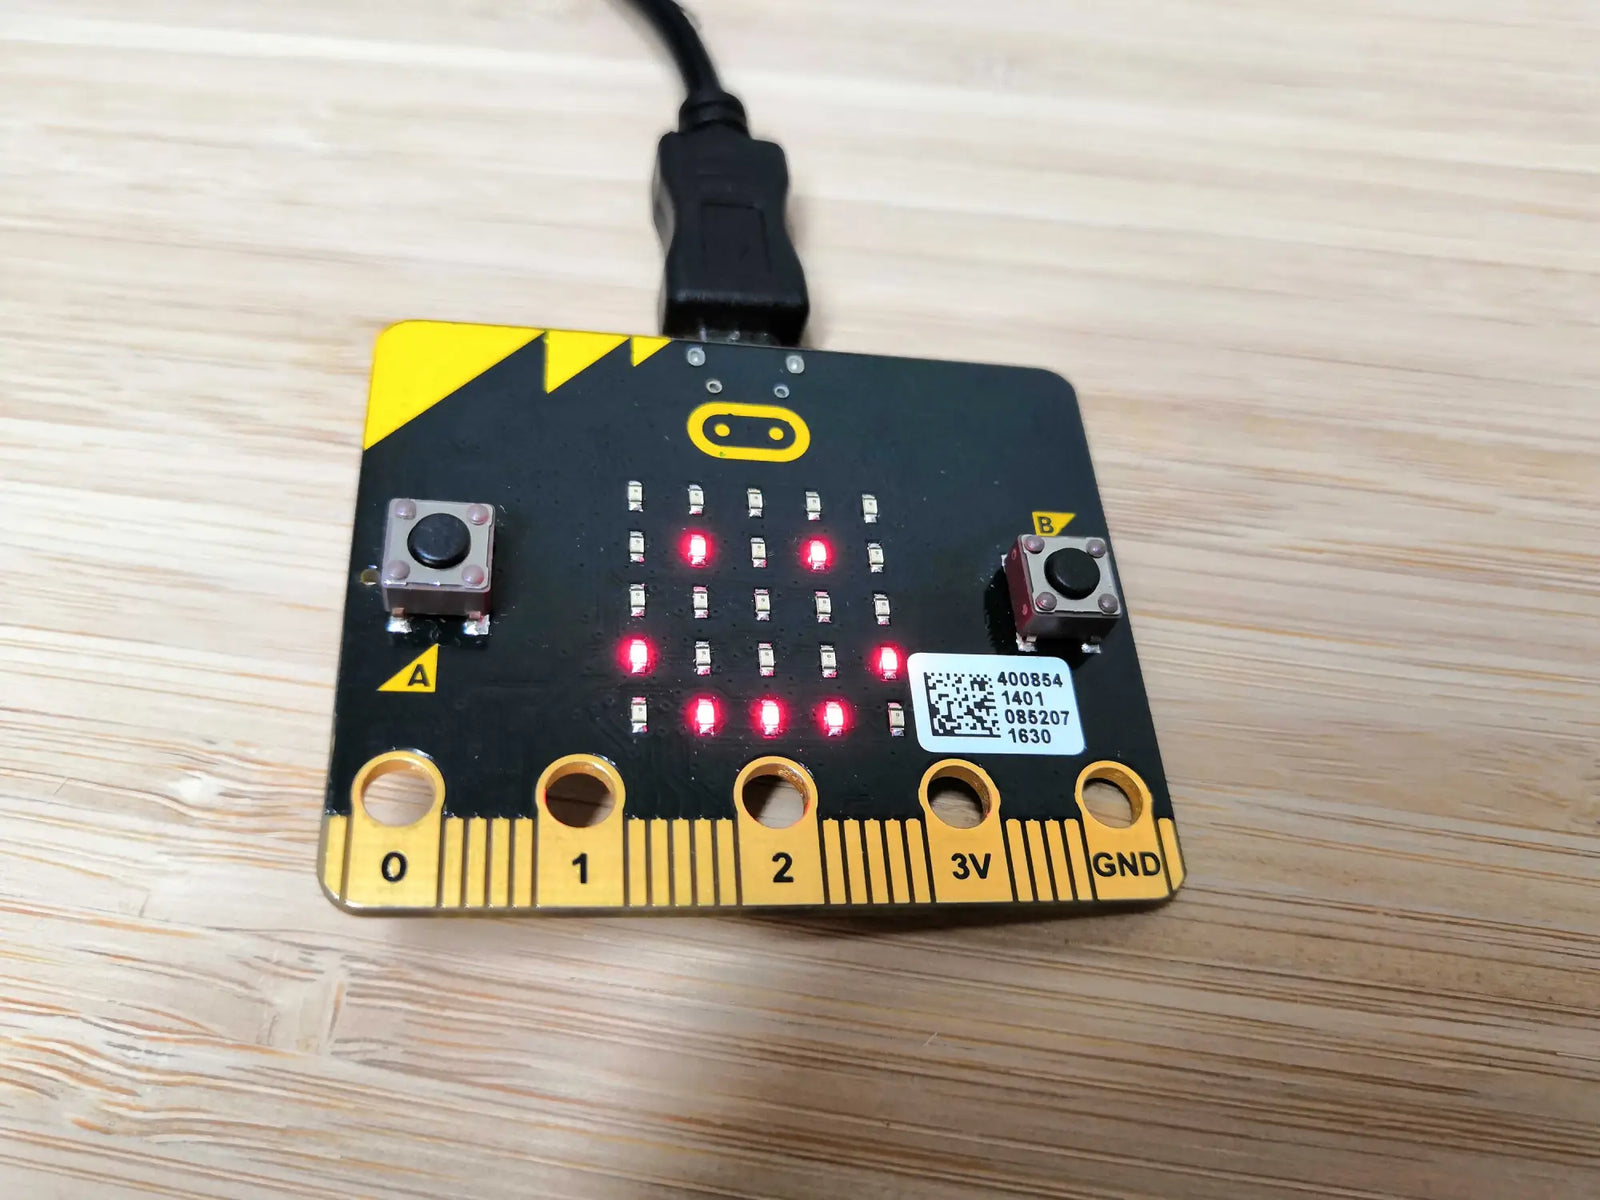
Connecting the micro:bit
The micro:bit can connect to your PC or Mac via a USB A to micro B cable. Plug USB A end into your devices USB Port and plug the micro B end into the micro-USB port on top of the micro:bit.
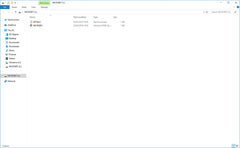
| If you are on a Windows PC when plugged in, you should get a new Window popup labelled MICROBIT (:L). this can be found and accessed via the File Explorer |
|
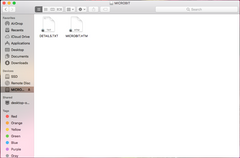
| If you are on a Mac you should when the micro:bit is connected, you should get a new window called MICROBIT popup. This can also easily be accessed through Finder under Devices. |
|
MakeCode Software
Regardless of which OS you are using go to the MakeCode website with any internet browser. The page is broken down into a series of sub-categories with your created projects being at the top along with some premade programs for Tutorials, Games, Radio Games, Fashion and many more!
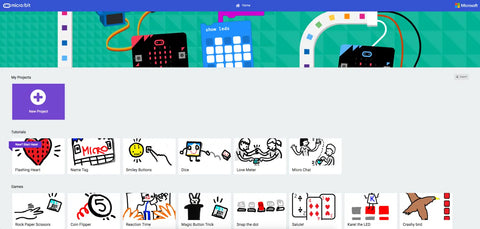
You can click on any of these to load the code, however, if you wish to start your first or a new project click on the big purple box labelled New Project.

You have 2 coding options within this which can be changed by using the At the top of the page you will notice a slider style button if you click on that it will change between Blocks and JS
 |
 |
|
Block Mode |
JavaScript Mode |
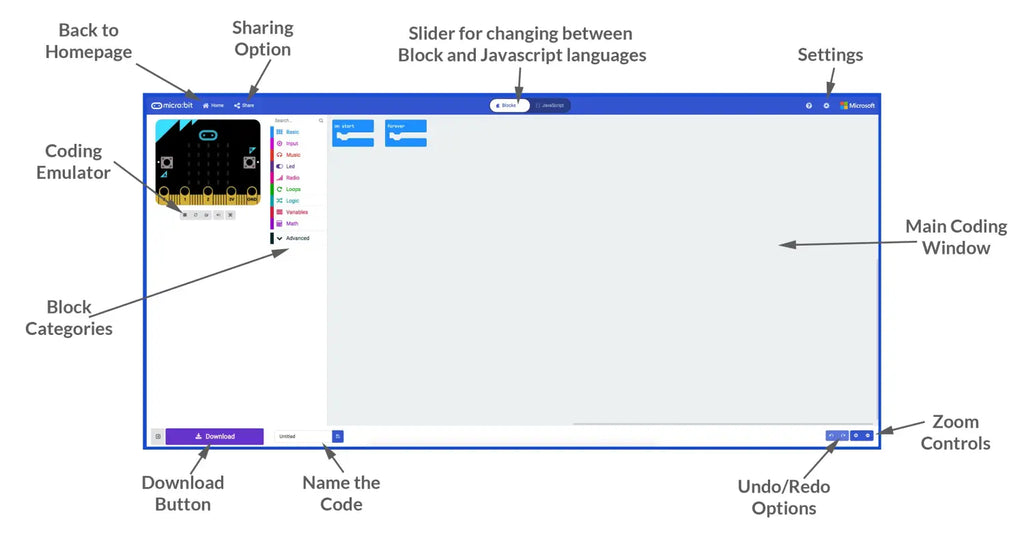
The coding environment is broken down into different categories in order to make it easier for you to code your micro:bit, each of the main, commonly used categories are:
|
|
Contains the most basic functions that the micro:bit can do. |
 |
Contains the blocks for every form of input that is present of the micro:bit |
 |
Contains blocks for playing a single note or melody of your choice via an attached speaker. |
 |
Contains blocks for controlling and plotting the 5x5 LED matrix |
 |
Contains blocks for sending and receiving radio communication between micro:bits |
 |
Contains blocks for creating while, for and repeat X times loops. |
 |
Contains the blocks for creating conditions, comparisons and boolean logic. |
 |
Allows you to create and edit blocks for custom variables |
 |
Contains blocks for handing maths and random number generation. |
If you click on the advanced dropdown menu you get access to even more categories which will be best to use once you’ve levelled up with coding.
 |
Allows you to create and edit blocks for custom functions |
 |
Contains blocks for creating, editing and getting values from arrays |
 |
Contains blocks for modifying, joining and getting details about strings. |
 |
Contains blocks for creating and editing sprites, timers, scores and game over conditions. |
 |
Contains blocks for creating images using the LED matrix |
 |
Contains the blocks for reading and writing digital or analog data to Pins 0, 1, 2, 3, 4, 10 and writing digital or analog data to the remaining 14 pins. |
 |
Contains blocks that allow the micro:bit to communicate with a computer |
 |
Contains blocks that allow for control of runtime and event activities. |
Coding with Javascript
This interface is much like the block code version with the same categories however the coding window is now a textual interface that will allow you to type individual lines of code directly onto it. However, you can also still use the block categories to drag completed bits of code into the window, which you’ll find gives you more control, While this is a natural progression of coding and you will make some silly mistakes to begin with, as your confidence and knowledge in coding grows you will find that your coding speed increases and fewer mistakes are made.
Uploading Code to the micro:bit
In the bottom left corner of the MakeCode page, you will find a textbox along with a purple download button. Click on the word untitled in the textbox and give your program a new name.
Press the Download button and the file will download to your downloads folder unless you specified a specific place.

Once the file has downloaded, open up the window for the download location and a separate window for the MICROBIT. Click and drag the file from downloads over to the micro:bit.
Once it has finished, the MICROBIT window will close and reopen, please note that while the file you just copied does not appear in the window, it will have been copied across.

