Plugging In
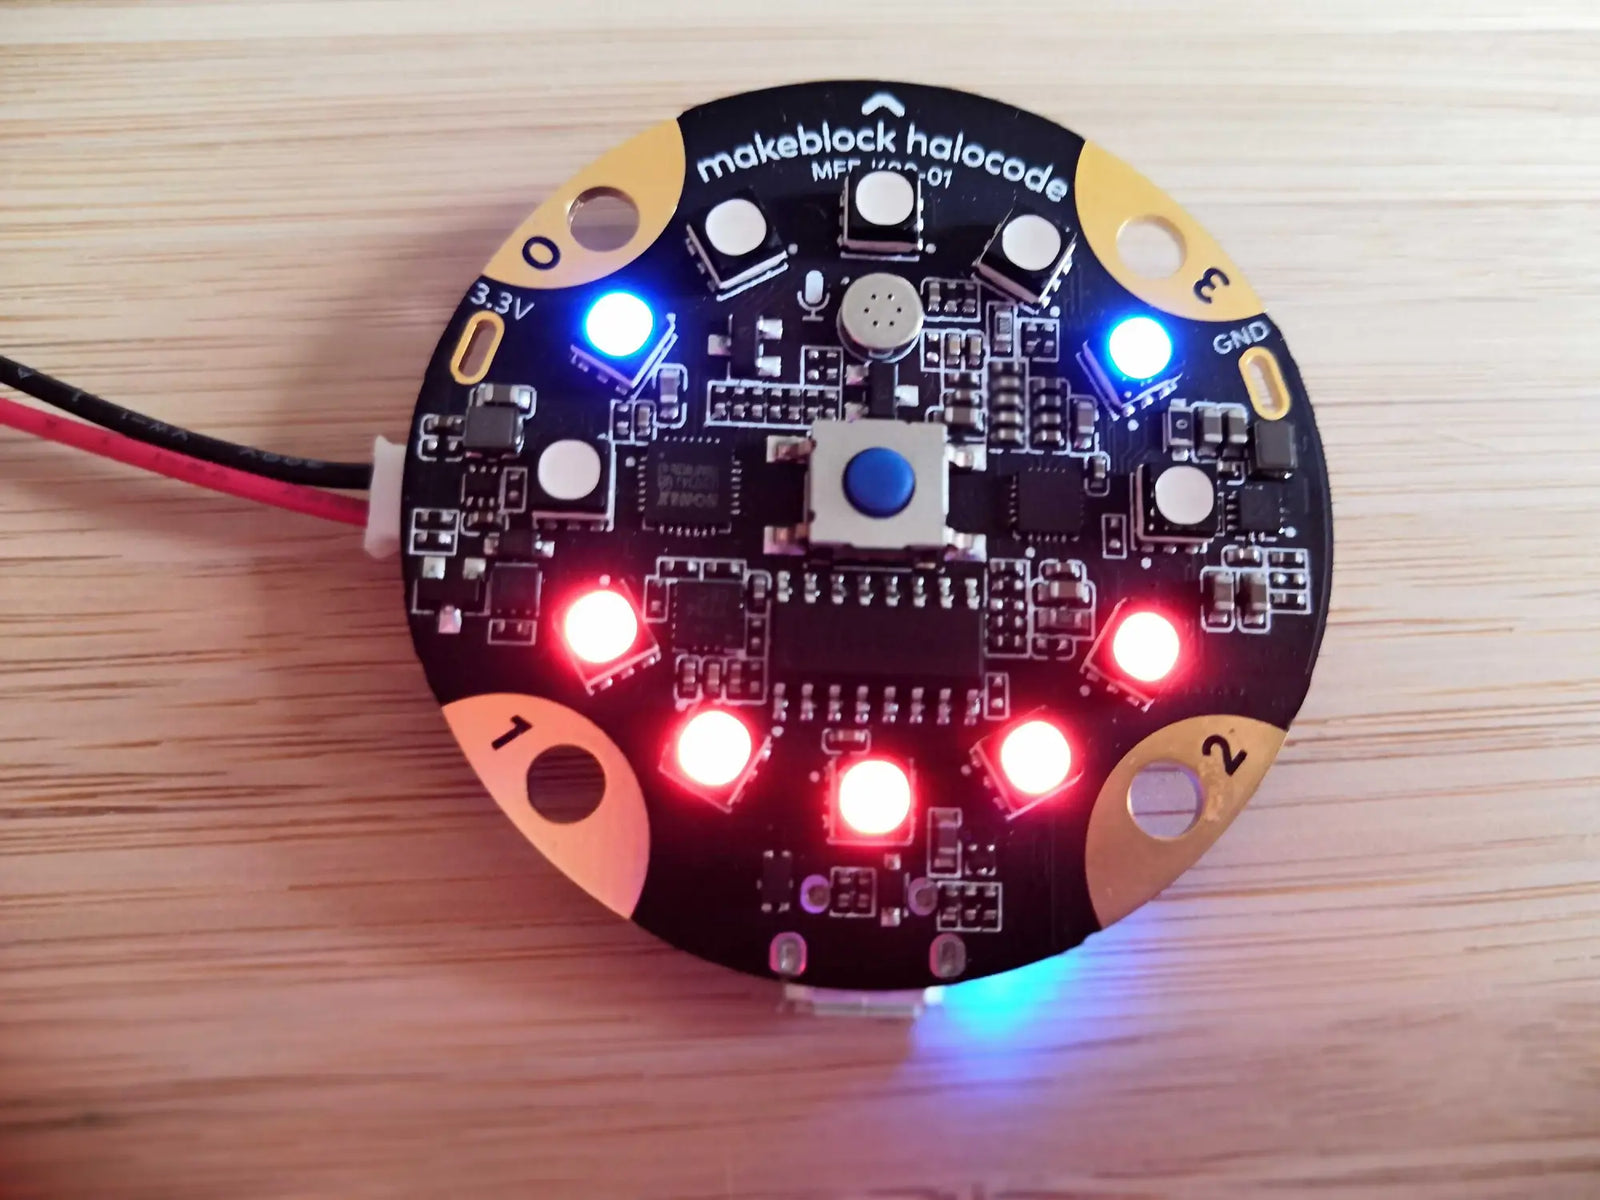
The HaloCode can connect to your PC or Mac via a USB A to micro B cable. Plug USB A end into your devices USB Port and plug the micro B end into the micro-USB port on the bottom of the HaloCode. Plug USB A end into your devices USB Port and plug the micro B end into the micro-USB port on the bottom of the HaloCode.
Software
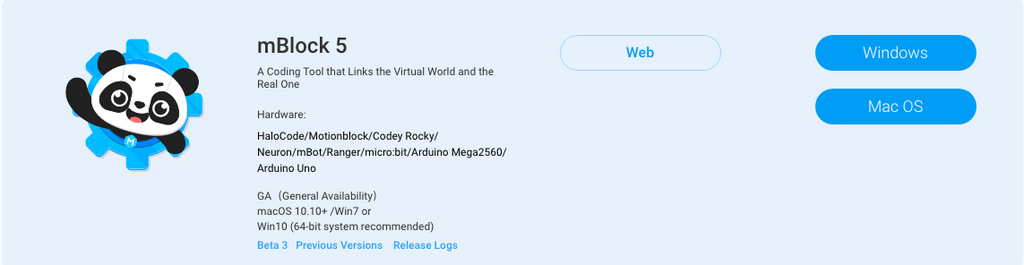
The mBlock software for the HaloCode comes in two different versions, the online version can be used within any internet browser (chrome is recommended) and an offline version which is available for download on PC and Mac OS.
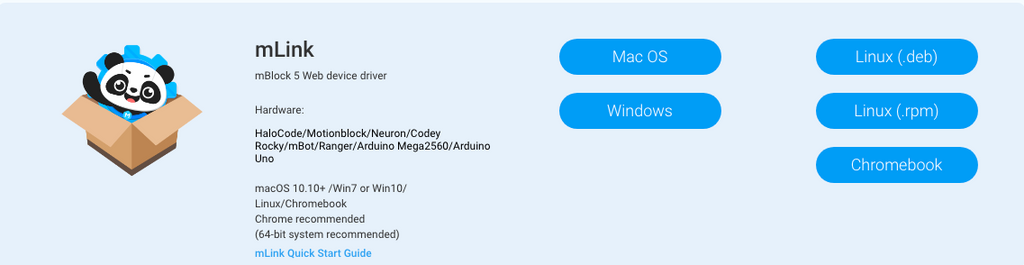
If you are using the online version you will also need to install the browser plug-in in order for the software to communicate with the HaloCode.
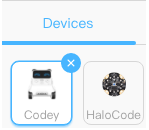
When you first load the software, the device setup for coding will default to the Codey Rocky. Follow the four steps below in order to change the device to the HaloCode.
- In the Devices tab, click on the blue plus symbol in the white box next to the Cody.
- In the new window that opens, double click on the HaloCode icon.
- When it has finished loading, click on the Codey again in the Devices tab. With Codey selected click on the white x in the blue circle
- You should be left with just the HaloCode in the Devices tab.

|
 |
 |
 |
| 1 | 2 | 3 | 4 |
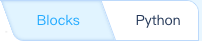
Within the coding software, you can quickly switch between using Block programming and Python by clicking on the button in the top right of the screen.
 |
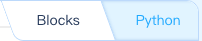 |
| Block Programming Mode | Python Mode |
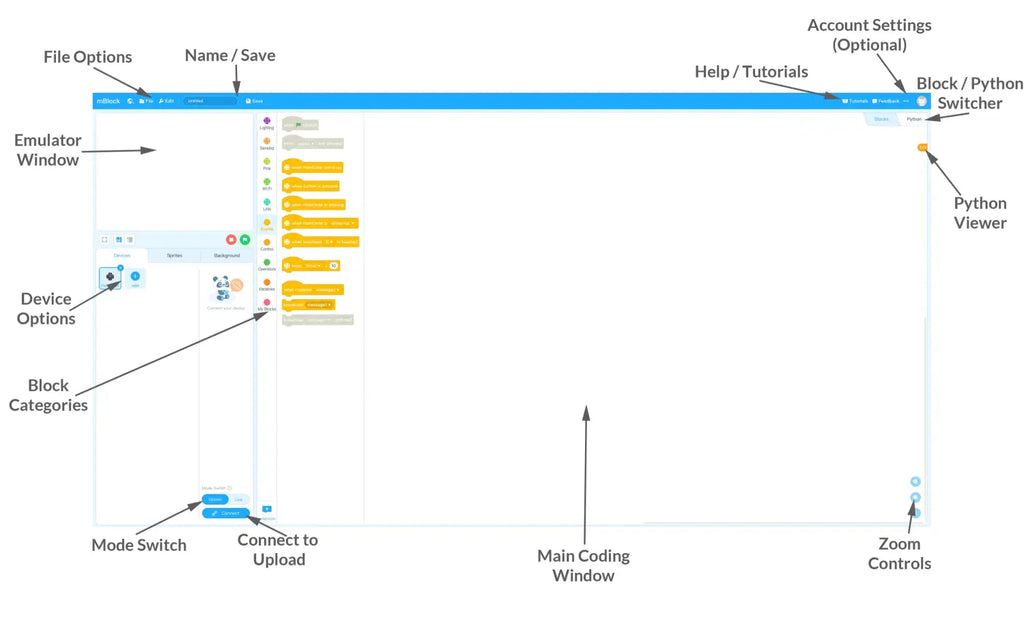
Block Programming Environment Explained
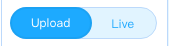
The block programming environment has 2 modes which can be switched at the bottom of the screen.
 |
 |
|
Upload Mode This mode can be used when the code is ready to be uploaded to the HaloCode. The keyboard command blocks are disabled and replaced with HaloCode on start blocks |
Live Mode This mode can be used to help test and debug your code within the coding software. The HaloCode on start is disabled and replaced with keyboard command blocks. |
In order to make coding easier for you, the blocks of code have been grouped into the following categories
 |
Contains blocks for controlling all the HaloCodes LEDs individually or as a group, including the brightness, colour and animation. |
 |
Contains blocks for the HaloCodes sensors, including motion, volume, button pressed etc. |
 |
Contains blocks for reading/writing to any of the HaloCodes 4 pins with either a digital or analog signal. |
 |
Contains blocks for IoT content, including WiFi access and speech recognition. |
 |
Contains blocks to run the code if certain events happen, examples include: HaloCode starts, HaloCode is shaken, Buttons are pressed. |
 |
Contains blocks for creating loops and if statements |
 |
Contains blocks for adding operators, conditions, math and boolean logic to the Control and Variable blocks. |
 |
Allows for creation and modification of custom variables and arrays |
Python Programming Environment Explained
This interface is much like the block code version however it no longer has the block code categories and the main coding window has changed to a text interface which allows you to manually type in the required code.
Uploading Code to HaloCode
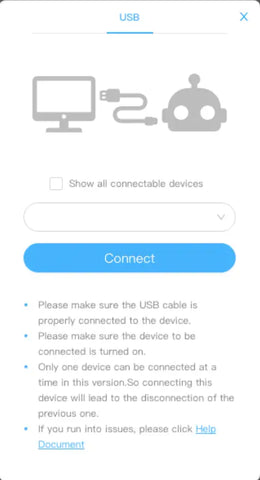
Click the blue Connect button at the bottom of the screen, in the popup box that opens, press the Connect button. Once connected, click on the upload button at the bottom of the screen.