
In this tutorial, you will learn what an Array is, what they are used for and have a go at creating one using JavaScript. We have previously introduced writing code in JavaScript in our previous tutorial which we would recommend beginners working though first.
MakeCode Software
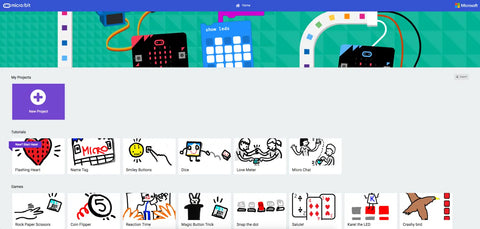
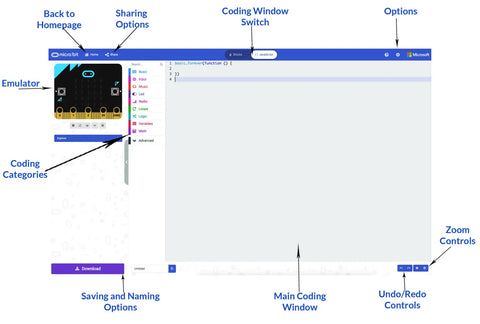
Regardless of which OS you are using go to the MakeCode website with any internet browser. The page is broken down into a series of sub-categories with your created projects being at the top along with some premade programs for Tutorials, Games, Radio Games, Fashion and many more!
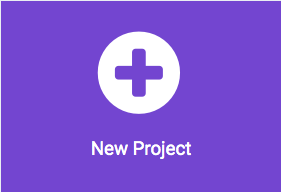
You can click on any of these to load the code, however, if you wish to start your first or a new project click on the big purple box labelled New Project.
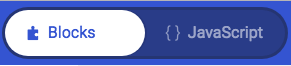
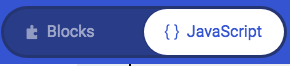
You have 2 coding options within this which can be changed by using the At the top of the page you will notice a slider-style button, click on it to change the coding window to JavaScript mode.
 |
 |
|
Block Mode |
JavaScript Mode |
You should now have a screen that looks similar to this.
The program that we are going to create will:
- Count each step that you take.
- Display steps when the A button is pressed
- Display direction you are facing when the B button is pressed
Coding the Program
Step One)
This program only requires one variable, this will be used to count the number of steps that you are taking. Create the variable by typing the following code on line one.
let StepCount = 0
Step Two)
The next step is to code the method to increase the number in StepCount variable each time you take a step. This can be achieved by making use of the micro:bits shake gesture, on lines 2, 3 and 4 type the following.
input.onGesture(Gesture.Shake, function () {StepCount += 1})
Step Three)
The next step is to code the method to reset the number in StepCount variable. This will be achieved by the user pressing both A and B buttons at the same time, on lines 5, 6 and 7 type the following.
input.onButtonPressed(Button.AB, function () {StepCount = 0})
Step Four)
The final step for coding the pedometer is to code the ability to show the number of steps taken to the user. This will be done by the user pressing the A button at the, on lines 8, 9 and 10 type the following.
input.onButtonPressed(Button.A, function () {basic.showString("" + StepCount + " Steps")})
Congratulations! you're halfway there, you have now coded the pedometer for the micro:bit, on startup it will now create a variable to count steps, increase the number of the variable each time the micro:bit is shaken, display it to the user when they press the A button and finally reset the variable when the user pressed the A+B button simultaneously. The next thing to do is code the compass.
Step Five)
This bit of code is going to check the direction that the compass is facing and display the result to the user. To make it easier to code, it has been broken down over the next few steps, this first section starts the if statement. On lines 11, 12 and 13 type the following.
input.onButtonPressed(Button.B, function () {if (input.compassHeading() < 22 || input.compassHeading() > 337) {basic.showString("N")
Step Six)
This bit of code is the main chunk of the if statement, it checks more possibilities for the compass direction depending on the value of the compassHeading. On lines 14 to 25 type the following.
} else if (input.compassHeading() < 77) { basic.showString("NE") } else if (input.compassHeading() < 112) { basic.showString("E") } else if (input.compassHeading() < 157) { basic.showString("SE") } else if (input.compassHeading() < 202) { basic.showString("S") } else if (input.compassHeading() < 247) { basic.showString("SW") } else if (input.compassHeading() < 292) { basic.showString("W")
Step Seven)
This is the last bit of code for the program and closes off the if statement. On lines 26, 27, 28 and 29 type the following.
} else { basic.showString("NW") } })
Uploading your Program to the micro:bit
In the bottom left corner of the MakeCode page, you will find a textbox along with a purple download button. Click on the word untitled in the textbox and give your program a new name.
Press the Download button and the file will download to your downloads folder unless you specified a specific place.

Once the file has downloaded, open up the window for the download location and a separate window for the MICROBIT. Click and drag the file from downloads over to the micro:bit.
Once it has finished, the MICROBIT window will close and reopen, please note that while the file you just copied does not appear in the window, it will have been copied across.