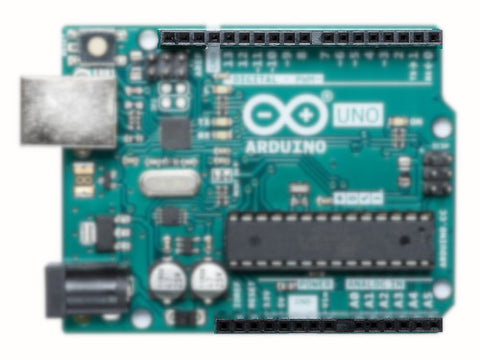
The Arduino Uno is an ideal board for beginners and the one we suggest to anyone that's not experienced with Arduinos or electronics. We thought we'd do a quick breakdown of the major parts/components on the board and what they're used for.
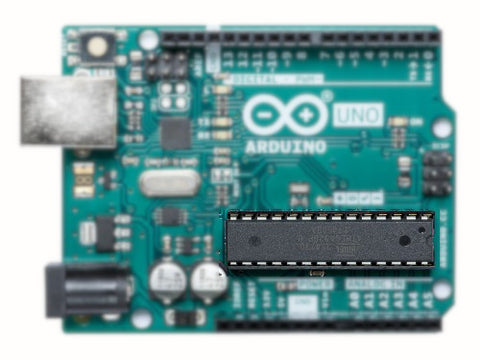
Microcontroller: This is the brain of the board, its the component that processes the calculations and instructions you program it to do. This part varies from board to board but you'll need to know what it is so you can select it in the IDE, usually, the name is written on the chip.
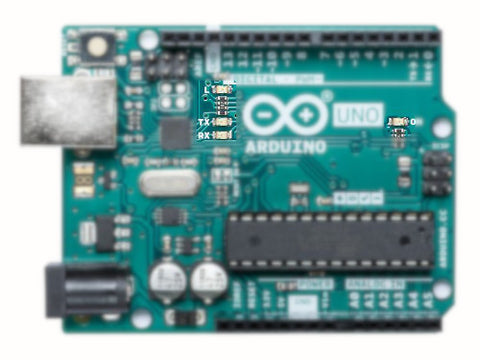
 LEDs: The Uno four LEDs that all have different uses. There is a power LED on the right of the board which should always be lit when the board is connected to power via the barrel jack or USB ports. The TX & RX LEDs are used to indicate activity on the serial pins. The last LED labelled L is the one which you can use when you program the board, it's used in the Blink example program and is referenced as PIN13 on the Uno.
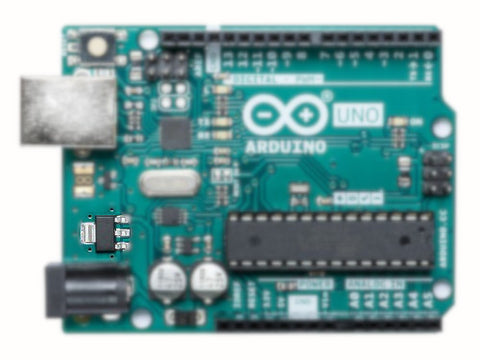
Regulators: This regulator ensures that the voltage being supplied to the board isn't higher than it should be and protects the other components from harm. If you're having trouble powering the board this component is definitely one to check.
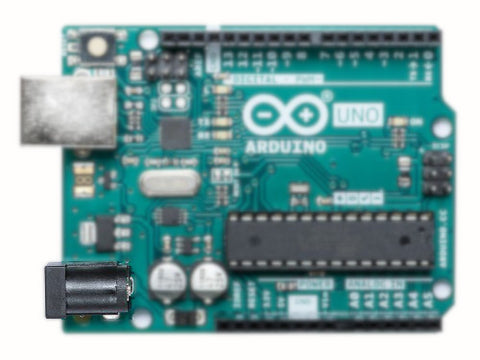
 Barrel Jack: This 5.5mm barrel jack port is used to power the board externally, it accepts anywhere between 7V-12V.
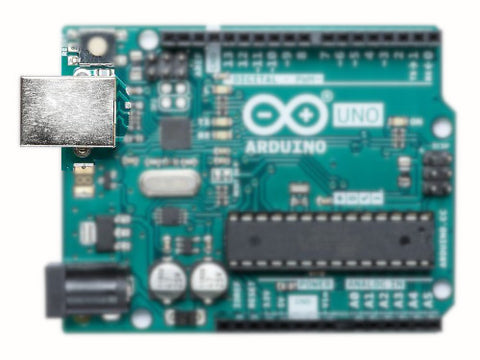
USB: This USB A port is used to connect the Arduino board to a computer which enables you to use the Arduino IDE and program the board. As well as being used to program the board it can also be used to power the board at 5V.
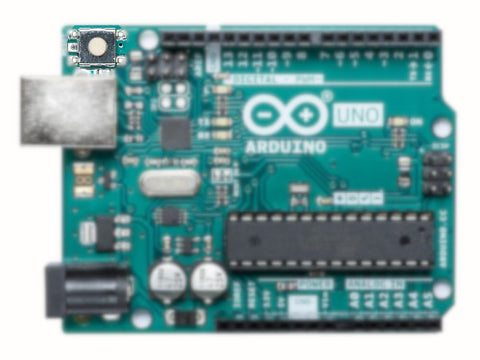
Reset Button: This pushbutton causes the microcontroller to reset and restart the code/program stored in its memory. This is really useful when testing and troubleshooting code or circuits that use the board.
 Pins: There are 14 digital I/O pins, 6 of which are PWM (Pulse Width Modulation) pins and also 6 analogue inputs. This is what you use to interface your Arduino with external circuitry such as sensors, displays, actuators and so much more.
