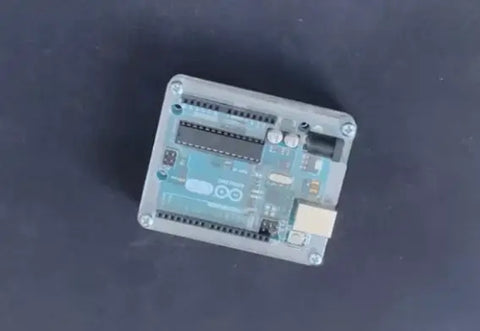
Protect your Arduino Uno from unwanted scratches and damage with this protective case! It was specifically designed to fit the official Arduino Uno R3 and the components on it. The case protects all of the surface-mounted components on the board but still gives you easy access to the header pins, reset button, USB port, barrel jack and ICSP connectors so you can still connect all the sensors and devices you want.
Here's a short video guide and below is a step by step image guide to assembling the case.
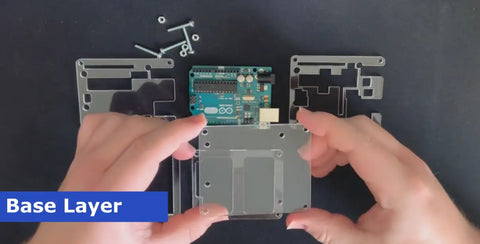
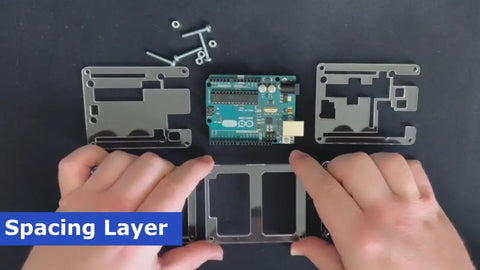
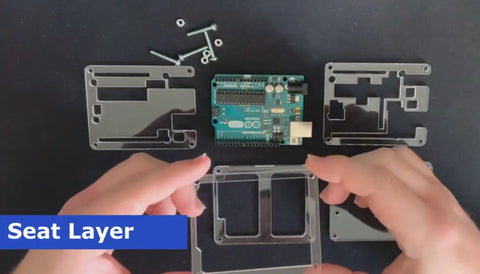
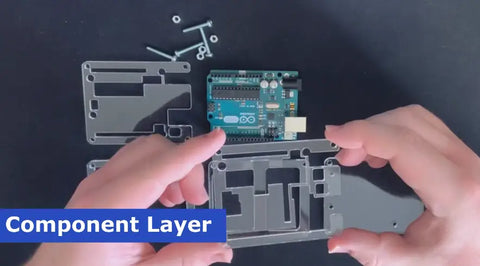
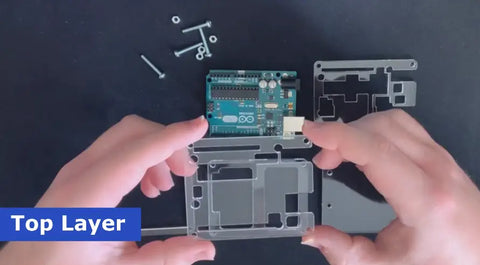
Identifying Each Layer
The case is comprised of 5 acrylic layers and 4 nuts & screws. Below are images detailing which layer is which.
Assembling the Case
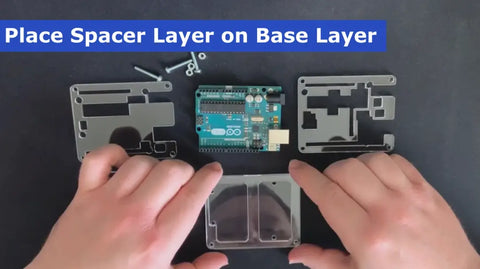
First place the Spacing Layer on top of the Base Layer ensuring that the side of the Base Layer with 4 holes vertically is the same side as the indent on the Spacing Layer.
Next place the Seat Layer on top of the Spacing Layer making sure that the indents are lined up on the same side.

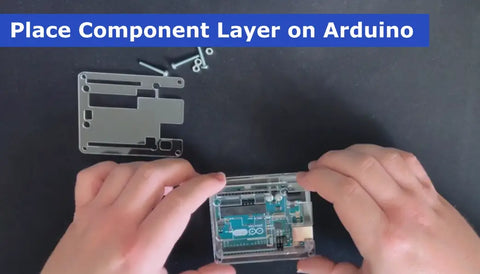
Now insert the Arduino Uno into the Seat Layer, the shape of the board should fit nicely into the indents in the previous layers.

The Component Layer is added next, this layer will fit around and protect all of the components on the PCB. Use the two slots on the side to line up this layer, the larger slot is for the USB connector and the other is for the Barrel Jack.
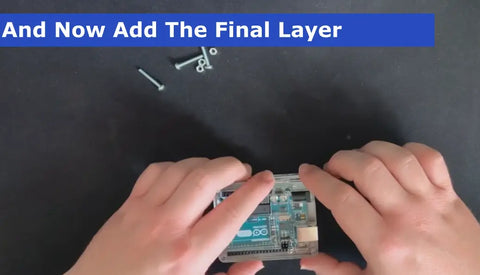
Lastly we need to add the Top Layer, use the same method as the previous layer to line determine the orientation.
All you need to do now is insert the screws and tighten the nuts. We'd recommend only using your fingers to tighten them as any more pressure could damage the acrylic.