
Check Arduino IDE Is up to Date
Before we start installing Teensyduino nd preparing to use the board we need to make sure we have an up to date version of the Arduino IDE. In order to use the latest version of Teensyduino you'll need to be using one of the following IDE versions: 1.8.5, 1.8.9, 1.8.11, 1.8.12, 1.8.13.
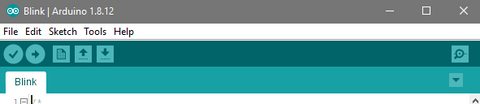
You can determine which version of the IDE you are using by looking at the number after the Arduino name at the top of the program window. If you need a newer version you can download it from the Arduino website.
Installing Teensyduino
The firsst thing we need to do is download and install Teensyduino. This is a handy software add-on which will install the board drivers, associated libraries and everything else you need to use your Teensy with the Arduino IDE.
You can download Teensyduino here. There are versions available for Windows, Mac and Linux. If you'd like to install the add-on via command line see the guide here.
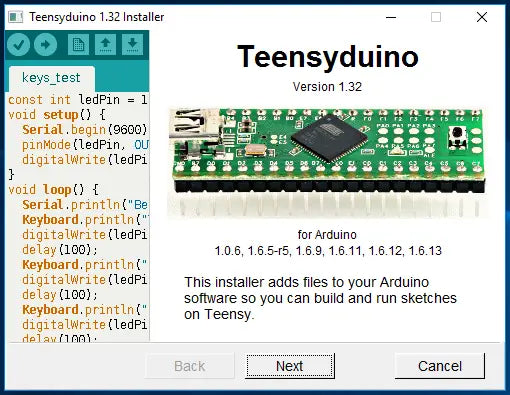
Unzip and open the application, once opened check that your current version of the IDE is listed on screen.
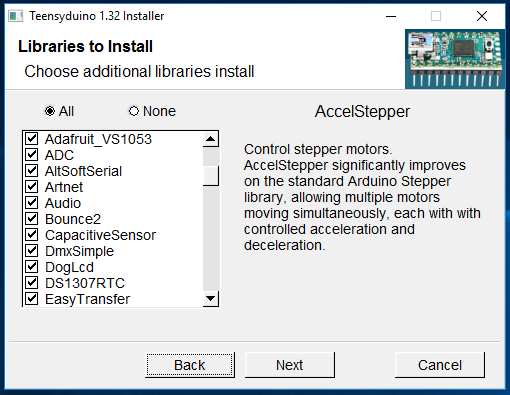
Progress through the various screens following the instructions, you'll see the screen listed below which lists a range of libraries to install. These libraries are known to work with the Teensy and are popular for use with the board. You can select and unselect which ones you want to install.
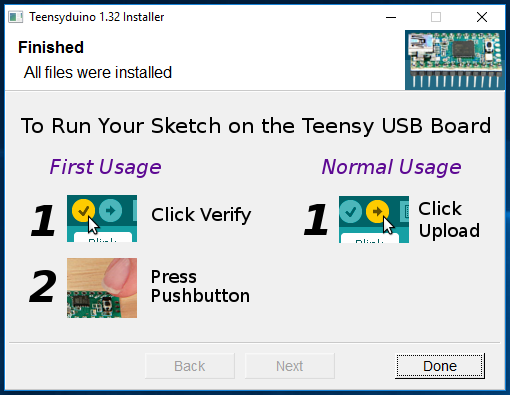
The final screen you see will be some instructions for the first time you program the Teensy board. We'll be propted to use these later when we actually program the board.
Programming the Teensy Board
Now all the needed add-on software is installed we can program the board for the first time. Open up the Arduino IDE and the program you want to upload to the board.
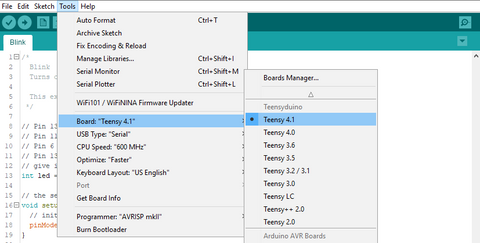
Firstly we need to ensure we've selected the correct board and port selected under the tools menu.
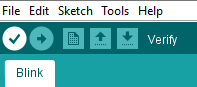
Now we need to verify the program, this can be done by clicking on the "Tick" button.
Once verified we need to press the button on the board and then shortly after click the upload button. If done correctly the code will upload to the board, in some cases you may be shown the window below. You'll just need to do the steps again and the code should sucessfully upload.
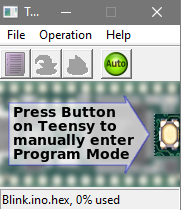
Now you're good to go, you can program the Teensy just as you would any other board. Occasionally you'll see the window pictured above, it will either give some information on the upload process or instructions on how to proceed.