
In this tutorial, you will be making a thermometer using a Circuit Playground Express in block programming making use of its inbuilt temperature sensors. Go to the following website https://makecode.adafruit.com/. Click on the blue box labelled New Project.
When the window opens up, you will see the following screen, which has been annotated below.
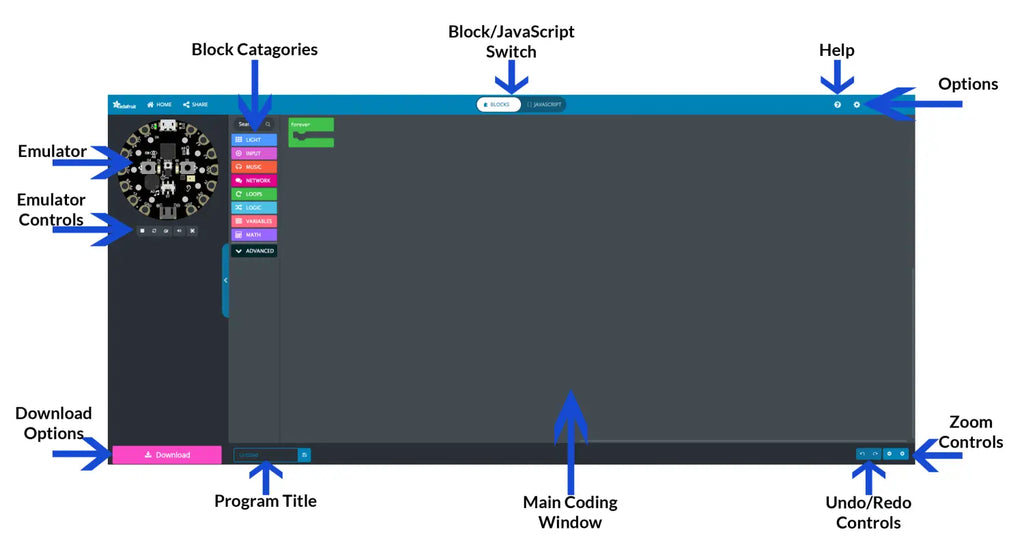
All the code you will be adding will be used within the forever block.
The first thing you will do is click on the LOGIC category, this will provide you with all the blocks for testing logical conditions. The one you want is called an If/Else statement, which is the second block in the list.
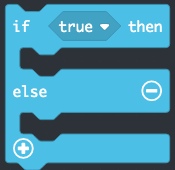
Click and drag this into the forever block.
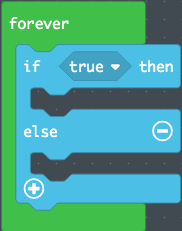
From the LOGIC category again, drag the 0 = 0 block onto the darker blue section labelled true.
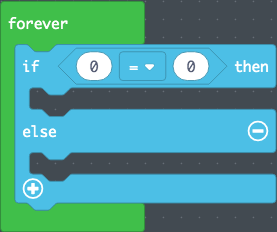
Click on the INPUT category, and drag the temperature in °C block onto the left hand 0. Click on the little arrow next to the = sign and change it to < (lesser than)
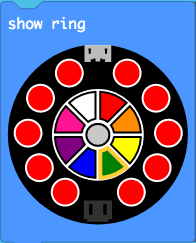
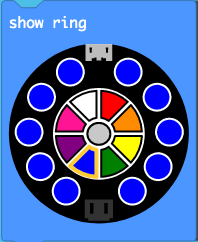
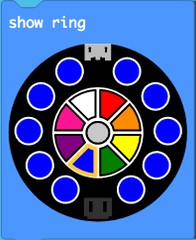
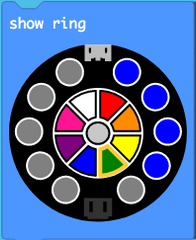
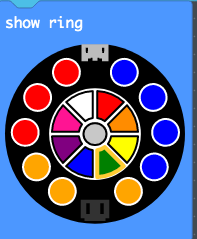
Click on the LIGHT category and drag the show ring block into the top gap in the IF statement. Using the colour wheel in the middle of the image, click on each of the red LEDs to change them to blue.
 |
 |
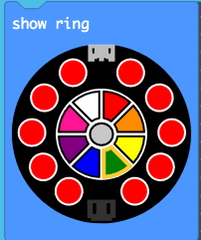
If the temperature goes below 0°C all the LEDs will light up blue. Click on the + symbol at the bottom of the IF statement, and it will add a new space for a second condition to be added.
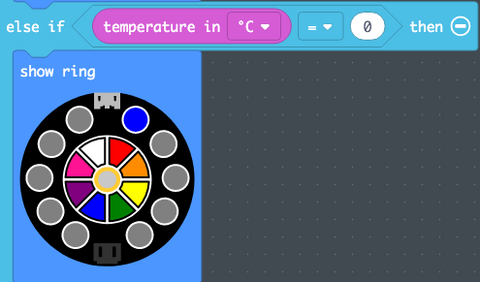
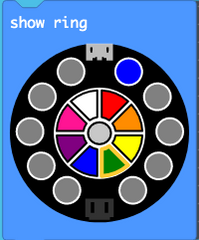
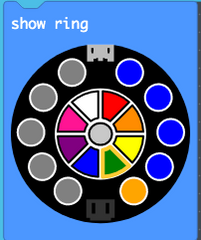
Repeat the steps above to set up a new condition that checks to see if the temperature equals 0. If it does, then you will light up the first LED blue and the rest will be turned off (grey colour)
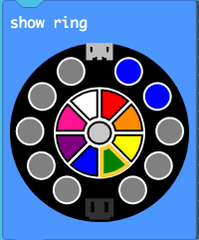
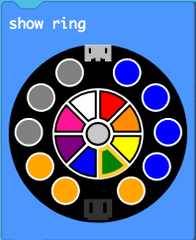
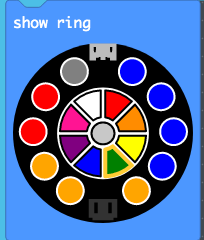
Repeat these steps changing the symbol to ≤ (lesser than or equal to) and incrementing 0 on the right-hand side by 3. Set the patterns for the LEDs as seen below.
 |
 |
 |
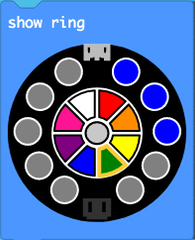 |
| temperature < 0 | temperature = 0 | temperature ≤ 3 | temperature ≤ 6 |
 |
 |
 |
 |
| temperature ≤ 9 | temperature ≤ 12 | temperature ≤ 15 | temperature ≤ 28 |
 |
 |
 |
 |
| temperature ≤ 21 | temperature ≤ 24 | temperature ≤ 27 | temperature ≥ 29 |
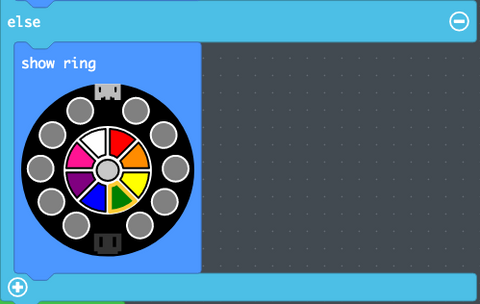
The last thing to do is add a block of code into the else part of the IF Statement. The code in this block will be used if there is a problem with the code. For this, we will turn all the LEDs off.
Near the bottom of the screen, you will see a text box with the word Untitled in it. Click in here and rename your program.
Next, click on the pink Download button in the bottom left to start downloading your program.

In order to get your program on the Circuit Playground. Plug a USB cable to your computer. Connect it to your Circuit Playground Express. Press the RESET button to go into programming mode. When the lights turn green, you're ready to click and drag the file you downloaded onto CPLAYBOOT.