
In this tutorial, we will be guiding you through the 1st experiment in the Kitronik Inventors Kit. We will guide you through setting up the circuit and coding the program using block programming in the MakeCode software.
Setting Up the Experiment
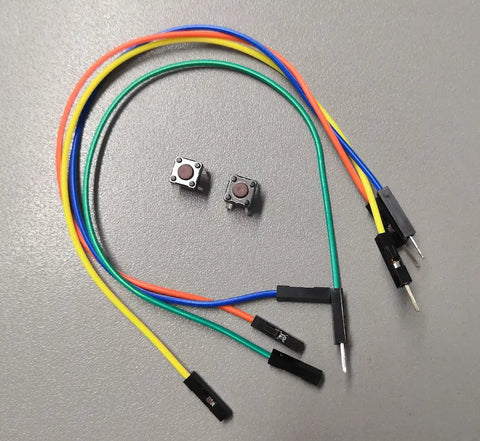
Parts List
- 2x Push Switch
- 4x M/F Jumper Wires
Building the Circuit
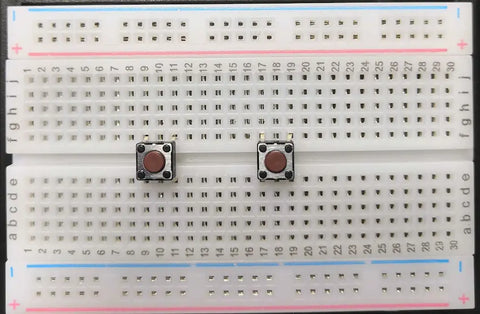
Add the Push Switches
Add the push switches to the breadboard by inserting the pins into holes:
- E9, E11, F9, F11
- E17, E19, F17, F19
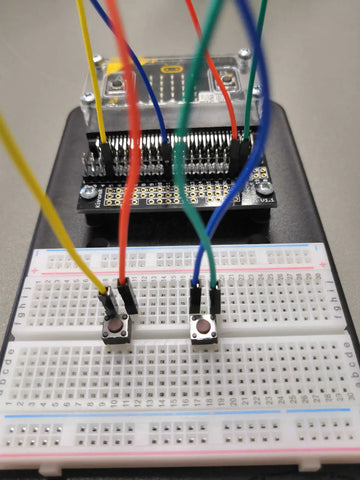
Add the M/F Jumper Wires
Attach the M/F jumper wires as follows:
- 5 to G9
- 11 to G17
- 0V to G11
- 0v to G19
Coding the Experiment
MakeCode Software
Regardless of which OS you are using go to the MakeCode website with any internet browser. The page is broken down into a series of sub-categories with your created projects being at the top along with some premade programs for Tutorials, Games, Radio Games, Fashion and many more!
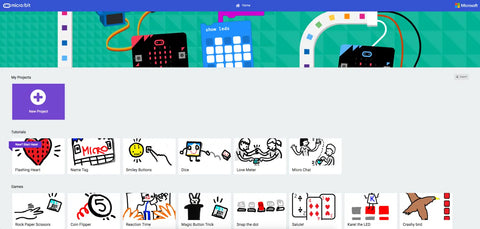
You can click on any of these to load the code, however, if you wish to start your first or a new project click on the big purple box labelled New Project.
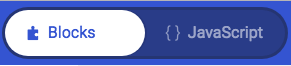
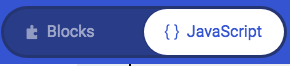
You have 2 coding options within this which can be changed by using the At the top of the page you will notice a slider-style button, click on it to change the coding window to JavaScript mode.
 |
 |
|
Block Mode |
JavaScript Mode |
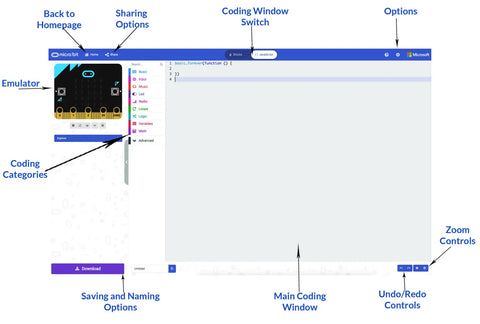
You should now have a screen that looks similar to this.
Coding Guide
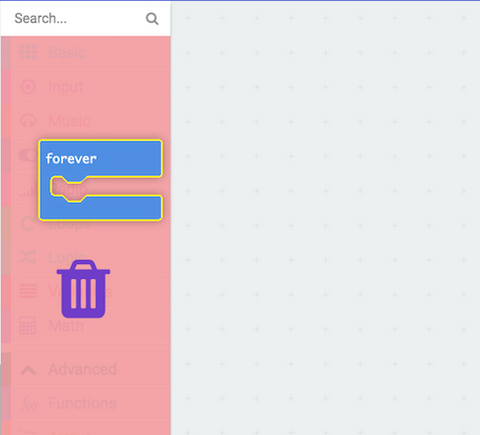
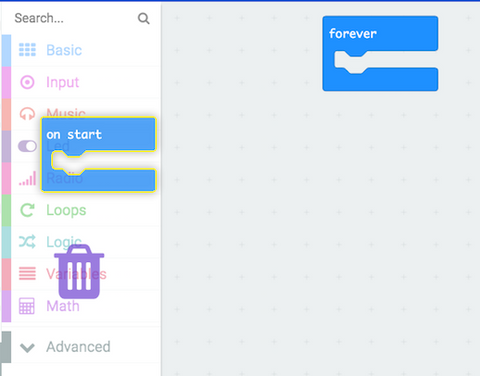
This program doesn't require the on start or forever functions. Remove them by click and dragging the 'On Start' block from the main coding window over the block categories until you see an image of a bin then release the mouse button to remove it from the program, repeat this process for the 'Forever' block
|
|
 |
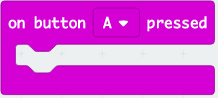
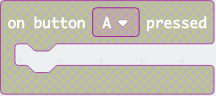
Click on the INPUT category and drag the 'On Button A Pressed' block onto the coding window, all the code you add into this function will run when the A button on the micro:bit or the left-hand button on the breadboard is pressed.
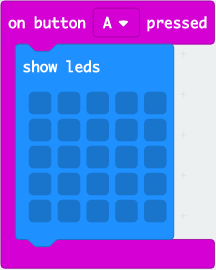
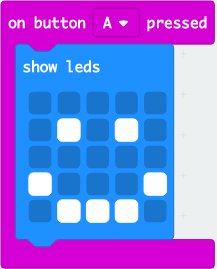
From the BASIC category, drag the 'Show LEDs' block and place it into the on button pressed you just created. You can choose which LEDs are lit up by clicking on the dark blue squares.
 |
 |
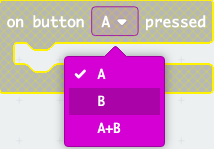
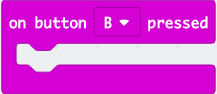
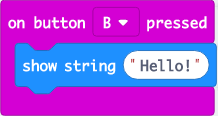
Click on the INPUT category again and drag another 'On Button A Pressed' block onto the workspace, you will notice that it becomes a different colour. Don't worry as this just indicates that there is an error as the A button is already assigned, to fix this click on the small arrow next to the letter A and select the letter B in the dropdown menu.
 |
 |
|
Finally, click on the BASIC category and drag the 'Show String "Hello!"' block and place it into the B button input you just created.
Uploading to the Micro:Bit
In the bottom left corner of the MakeCode page, you will find a textbox along with a purple download button. Click on the word untitled in the textbox and give your program a new name.
Press the Download button and the file will download to your downloads folder unless you specified a specific place.

Once the file has downloaded, open up the window for the download location and a separate window for the MICROBIT. Click and drag the file from downloads over to the micro:bit.
Once it has finished, the MICROBIT window will close and reopen, please note that while the file you just copied does not appear in the window, it will have been copied across.