In this guide we'll be learning how to connect and use a NeoPixel compatible LED Ring or strip with the BBC micro:bit. Here's a list of the parts we'll be using in this guide:
- BBC micro:bit
- Cool Components Breakout:bit
- 16 LED 72mm Ring - NeoPixel Compatible
- Female to Female Jumper Wires
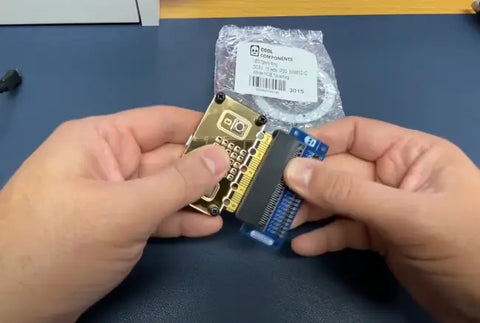
Firstly we need to slot the BBC micro:bit into the Cool Components Breakout:bit, when doing this ensure that the buttons on the BBC micro:bit are facing upwards, the same side as the breakout pins on the adaptor.
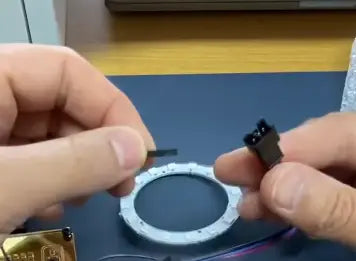
Next identify the input connector on your LED ring/strip. This can usually be done by looking at the labelling on the PCB where the wires are attached. On most of our LED strips/rings it is the Female JST connector (the one where you can see the pins sticking out).
We’re going to attach the female jumper wires to these exposed pins. We’re going to use the same colours as the existing wires, Red -> V+, Black -> GND and BLUE -> Data In.
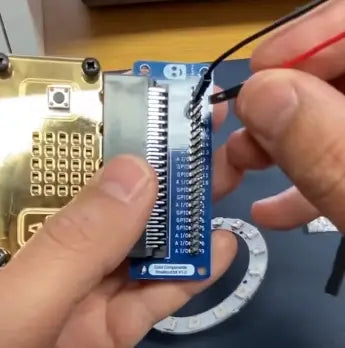
Now we need to connect the other side of the female jumper wires to the Breakout:bit. RED (V+) to Vcc, BLACK (GND) to GND and BLUE (Data In) to P0.
Now we’re ready to code, we’re going to load up Makecode.
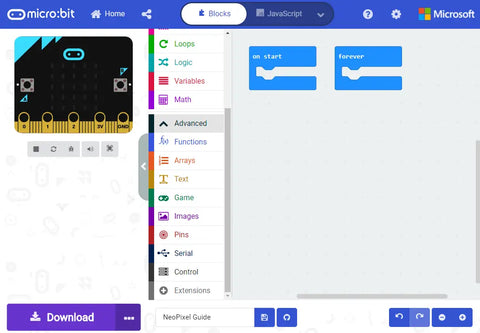
We need to add the NeoPixel extension. You can do this by clicking on the Extensions button and searching for the “neopixel” extension and installing it.
Here's some example Javascript code that will light all the LEDs with a random colour. You can copy it and modify it, just experiement!