
In this tutorial, we will be showing you how to use AI and object recognition with your HaloCode. For this tutorial you will need:
- HaloCode
- USB A to micro B cable
- WebCam or similar camera device
- Objects for recognition
- mBlock software
Plugging In
The HaloCode can connect to your PC or Mac via a USB A to micro B cable. Plug USB A end into your devices USB Port and plug the micro B end into the micro-USB port on the bottom of the HaloCode. Plug USB A end into your devices USB Port and plug the micro B end into the micro-USB port on the bottom of the HaloCode.
Software
The mBlock software for the HaloCode comes in two different versions, the online version can be used within any internet browser (Chrome is recommended) and an offline version which is available for download on PC and Mac OS.
If you are using the online version you will also need to install the browser plug-in in order for the software to communicate with the HaloCode.
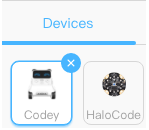
When you first load the software, the device setup for coding will default to the Codey Rocky. Follow the four steps below in order to change the device to the HaloCode.
- In the Devices tab, click on the blue plus symbol in the white box next to the Cody.
- In the new window that opens, double click on the HaloCode icon.
- When it has finished loading, click on the Codey again in the Devices tab. With Codey selected click on the white x in the blue circle
- You should be left with just the HaloCode in the Devices tab.

|
 |
 |
 |
| 1 | 2 | 3 | 4 |
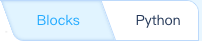
Within the coding software, you can quickly switch between using Block programming and Python by clicking on the button in the top right of the screen.
 |
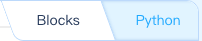 |
| Block Programming Mode | Python Mode |
For this tutorial, make sure you are in Blocks Mode.
Setting Up the Extension
Click on the Sprites tab on the left-hand side of the screen.
![]()
At the bottom of the block code categories, click the EXTENSION button.

Navigate the screen till you find the Teachable Machine extension and click the add button.

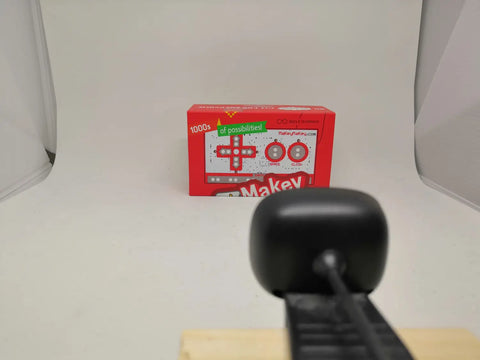
Setting Up the Object Recognition
Setup your camera and objects that you wish to use for the recognition.
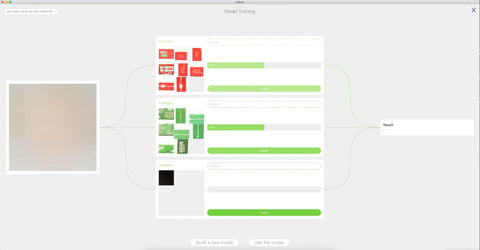
From the TM category, select the Training Model option at the top of the screen.

With your image in place, you can teach the program up to 3 different objects. In our example, we are only going to use two. Press the Learn button in the first category, taking multiple images of your object from different angles.
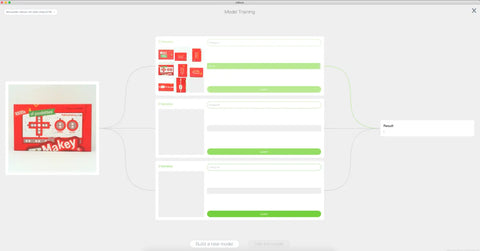
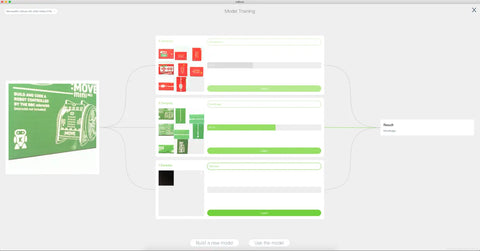
Repeat this process with the second and third objects that you wish to use.
Give each category a name and press the Use This Model button to save the images and go back to the main coding screen.
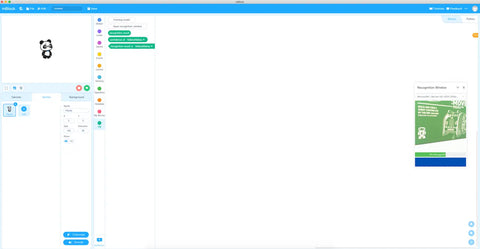
From the TM category, press the Open Recognition Window button, to load a view of what the camera is currently seeing along with the object it has matched it against.
Coding the Sprite
From the EVENTS category, drag the When I Receive Message1 block onto the workspace.
![]()
Click on the word message1 to bring up the dropdown menu, click on New Message to create your own.
![]()
In the popup window that opens, give the message a new name, for this example, as it is going to be used to start the object recognition we are going to call it Start.
![]()
On the CONTROL category, drag the If Then Else statement block and attach it to the bottom of the When I Receive block you just added.
![]()
From the OPERATORS block, drag the Blank = 50 comparison block into the dark orange space in the if statement.
![]()
Go to the TM category and drag the Recognition Result block into the left-hand side of the comparator block that you just added. In the right-hand side of the comparator, change the value to your first object recognition category. In our example the first one was MakeyMakey.
![]()
Click on the EVENTS category and drag the broadcast block into the top half of the if statement. Rename this to match the object recognition name, in this example it is MakeyMakey.
![]()
Right-click anywhere on the orange if statement block and select duplicate.
![]()
Place this copied block into the bottom part of the original if statement.
![]()
In the new, if statement, change the right-hand side of the operator and the message being broadcast to match the second result.
![]()
Lastly, from the EVENTS tab, drag the broadcast block to the empty gap in the second if statement, creating a new name for it.
![]()
Coding the HaloCode
Click back to the HaloCode by selecting the Device tab.

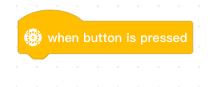
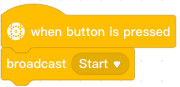
From the EVENTS category, drag the When Button Is Pressed block onto the workspace.
Again, from the EVENTS category, drag the broadcast block underneath it, changing the message to Start from the drop-down menu.
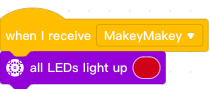
From the EVENTS category, drag the When I Receive block, using the drop-down menu to select one of your options, in our example it is the Makey Makey. Click on the LIGHTING category and drag the All LEDs Light Up block underneath it, changing it to your choice of colour.
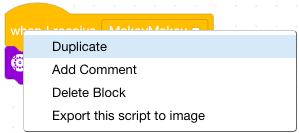
Right-click on the When I receive block and select duplicate.
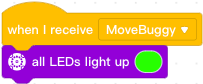
Make the following changes to the copied version, change the message received to the second option (our example is the MoveBuggy) and change the LEDs colour to another one of your choosing.
Repeat this step again for the message Nothing.
Uploading Code to HaloCode
Click the blue Connect button at the bottom of the screen, in the popup box that opens, press the Connect button.
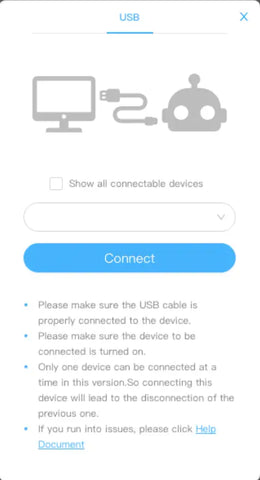
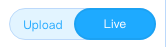
Once connected, make sure that you are in Upload mode

Click on the upload button at the bottom of the screen to upload the code.
Running the Program
Switch the Software back to Live mode
Press the go button (green flag) on the program, place an object in front of the camera and press the button on your HaloCode.
Extra Additions!
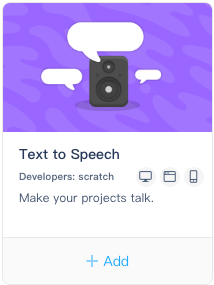
The software allows you to add audio outputs quickly and easily, navigate back to the Sprite by clicking on the Sprites tab and click on the EXTENSION button again. In the extensions window, you are looking for Text to Speech option, click the add button.
Navigate to the TEXT TO SPEECH category and Speak Hello blocks after each broadcast blocks within the if statement, changing the word hello to what you wish the program to say.
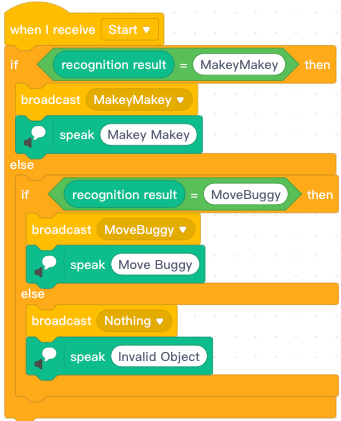
Restart your program by pressing the red stop button and then the go button (green flag) on the program, place an object in front of the camera and press the button on your HaloCode.